Uploaded CSV
Overview
If you don't have a data warehouse handy — or just want to try Mitzu against a sample dataset — you can upload a CSV directly from the connection settings page. Mitzu ingests the file into a managed warehouse and treats it like any other event source.
Starting from an empty workspace
When you open a workspace that doesn't have a connection yet, the project home shows a setup card with two halves: Set up with the agent and Upload CSV. Click Upload CSV to skip warehouse credentials entirely — you'll be dropped into a guided agent conversation that walks you through picking a file, mapping columns, and ingesting it into the managed warehouse.

If you'd rather configure things by hand, use the connection settings entry point below.
Uploading from connection settings
Open Workspace settings → Connection settings and pick Uploaded CSV under "Or upload a CSV". The connection is saved automatically — no credentials required.
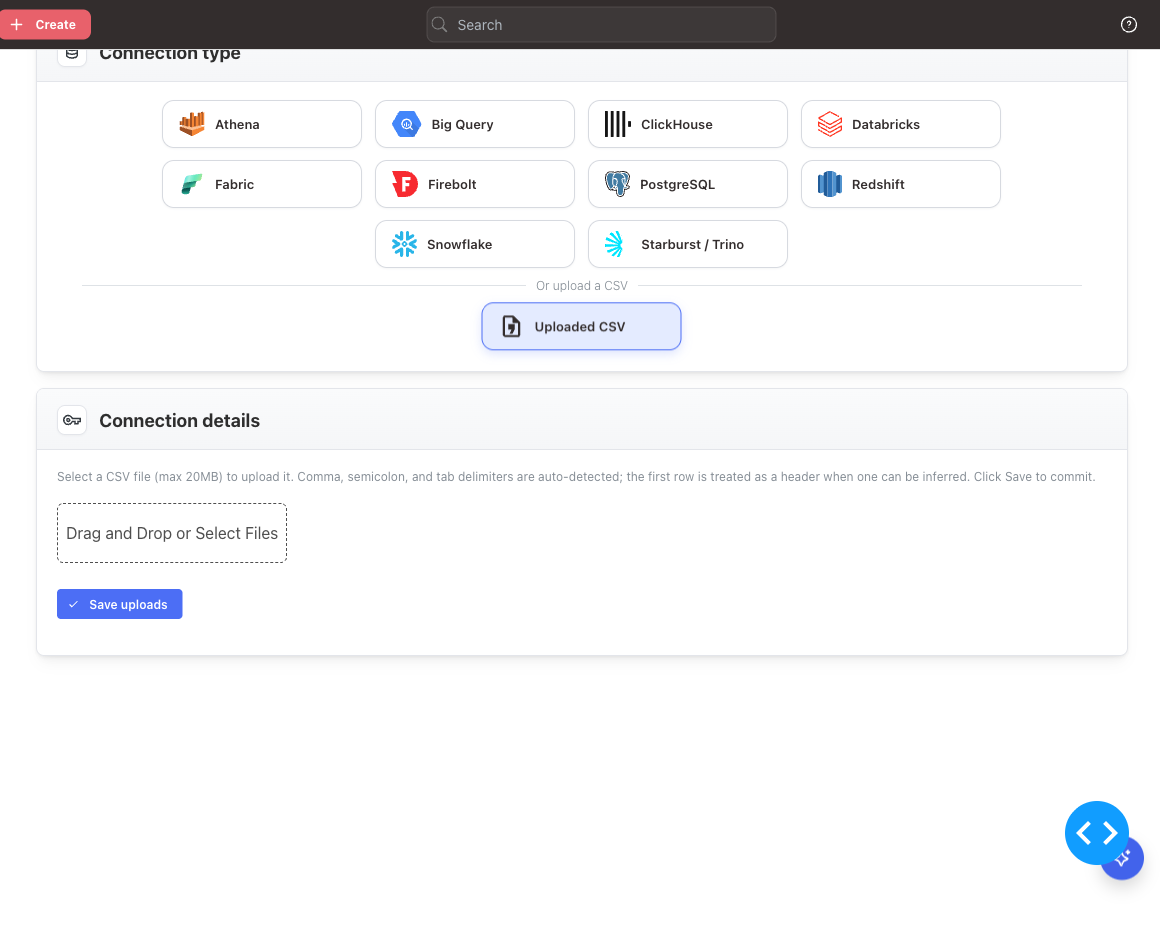
Drag and drop a .csv file (or click to browse). Mitzu auto-detects comma, semicolon, and tab delimiters and treats the first row as a header when one can be inferred.
Staged save flow
Each file you select is ingested into a managed warehouse immediately and added to the Uploaded files list with a Pending save badge. Repeat for additional files, then click Save uploads to commit them.
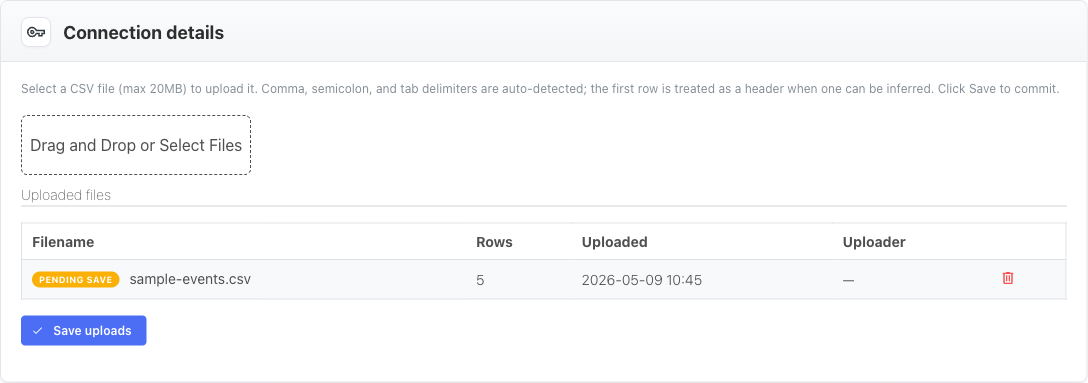
While a row is in Pending save, the trash icon removes it before commit. After saving, the trash icon becomes a soft-delete: the row is marked Pending delete and you can undo the change before clicking Save uploads again. Soft deletes hide the file from the UI but keep the underlying warehouse table, so accidental deletions can be recovered by support.
Validation
As soon as a file finishes uploading, Mitzu checks it and shows the outcome in the Status column of the Uploaded files list:
- A green check icon means the file is ready to save.
- A red alert icon appears when the file fails one or more checks. Hover the icon to see the specific problems.
A staged file is considered valid when it is under 20 MB, can be parsed as CSV with a header row, and contains at least one date or timestamp column and at least one string column. Save uploads is blocked while any staged file is invalid — remove the offending file (or upload a fixed version) before saving.
Limits
- Maximum file size: 20 MB per upload.
- Empty files and non-CSV file types are rejected with a clear error.
- Each upload becomes its own table; uploading the same filename twice is rejected — old data is never overwritten silently.
Next steps
Once your CSV is uploaded, configure the event data tables so Mitzu knows which columns represent users, events, and timestamps. From there the standard Mitzu workflows — insights, funnels, retention — apply.