Dashboards
Dashboards group your saved insights, text notes, and dividers into a single live view. Editing is inline: if you can edit a dashboard, you arrange it directly on the page — there is no separate edit mode. Viewers without edit permission see the same page without the editing controls.
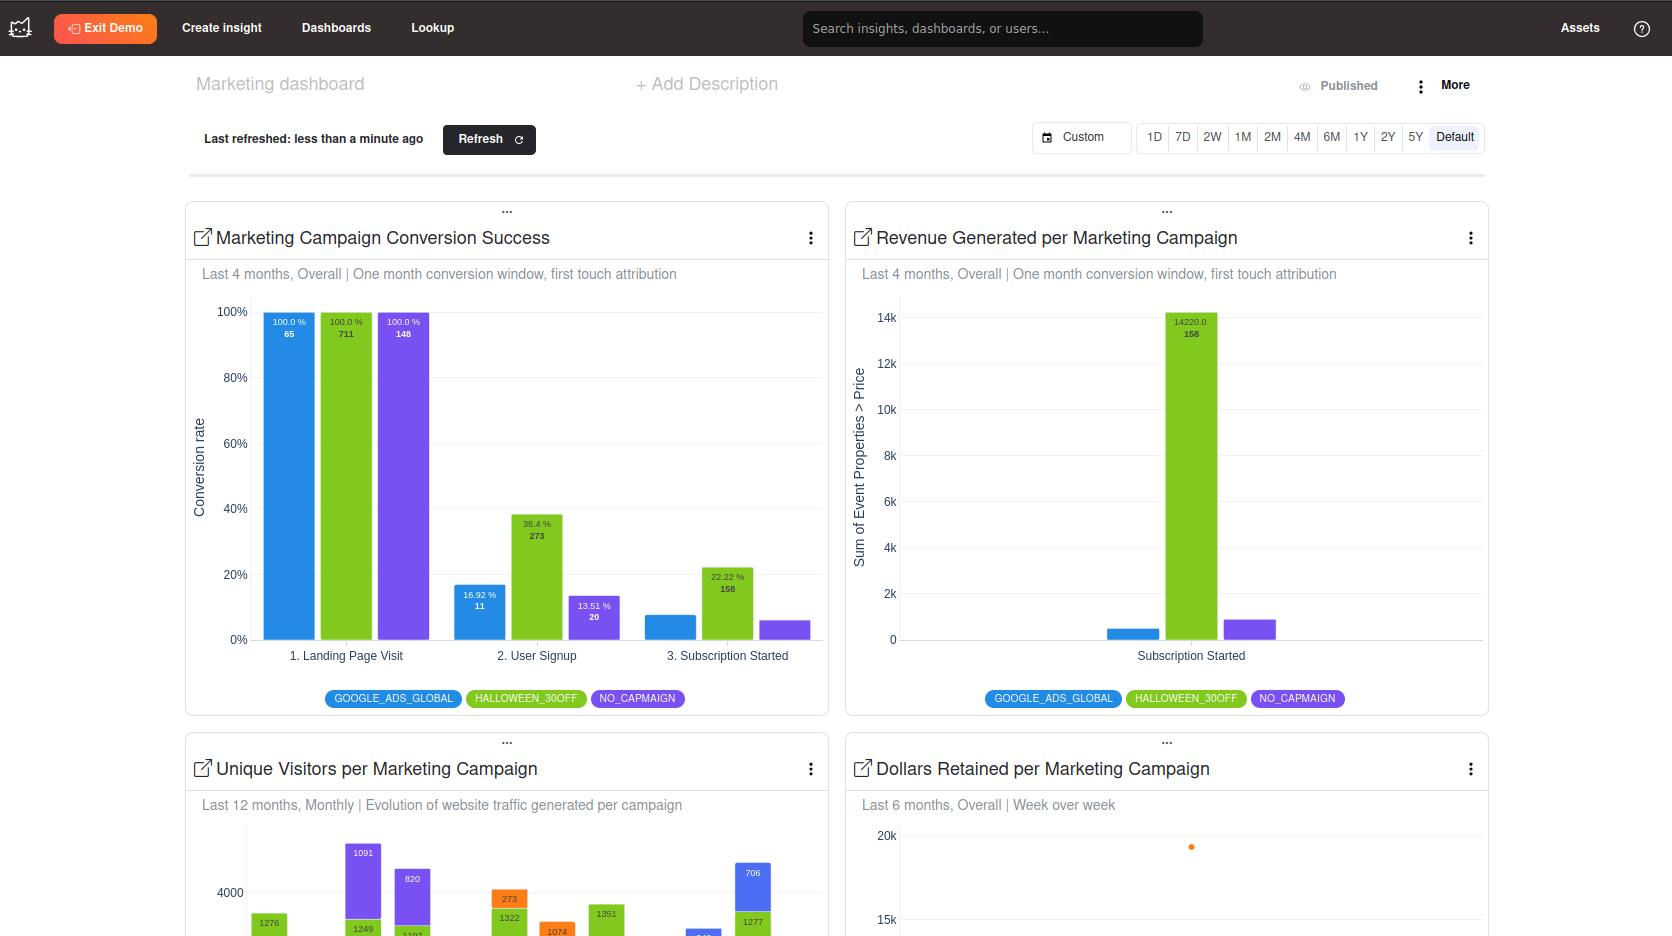
Editing needs a desktop-sized window. On smaller screens the dashboard is read-only and cards stack vertically.
Use Cases
Here are a couple of example use cases for grouping your insights:
- Business problem-based grouping: examples include a Product Activation dashboard, a User Retention dashboard, and so on.
- Function-based grouping: examples include an Engineering dashboard, a Sales dashboard, and so on.
Creating a dashboard
- Click New dashboard in the Quick Actions section of the home page.
- Ask the Mitzu Agent — describe the dashboard you want, and the agent creates it and fills it with insights.
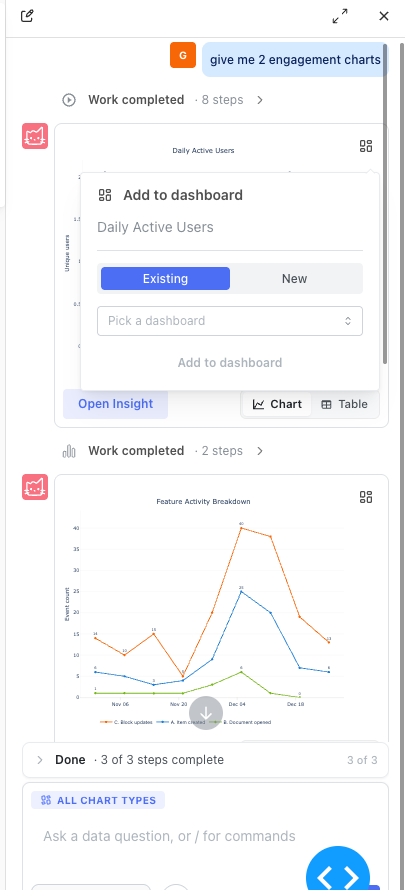
- Use Add to dashboard on a saved insight (in the insight's menu on the Explore page) or on a chart the agent generated in chat. Both let you pick an existing dashboard or create a new one on the spot.
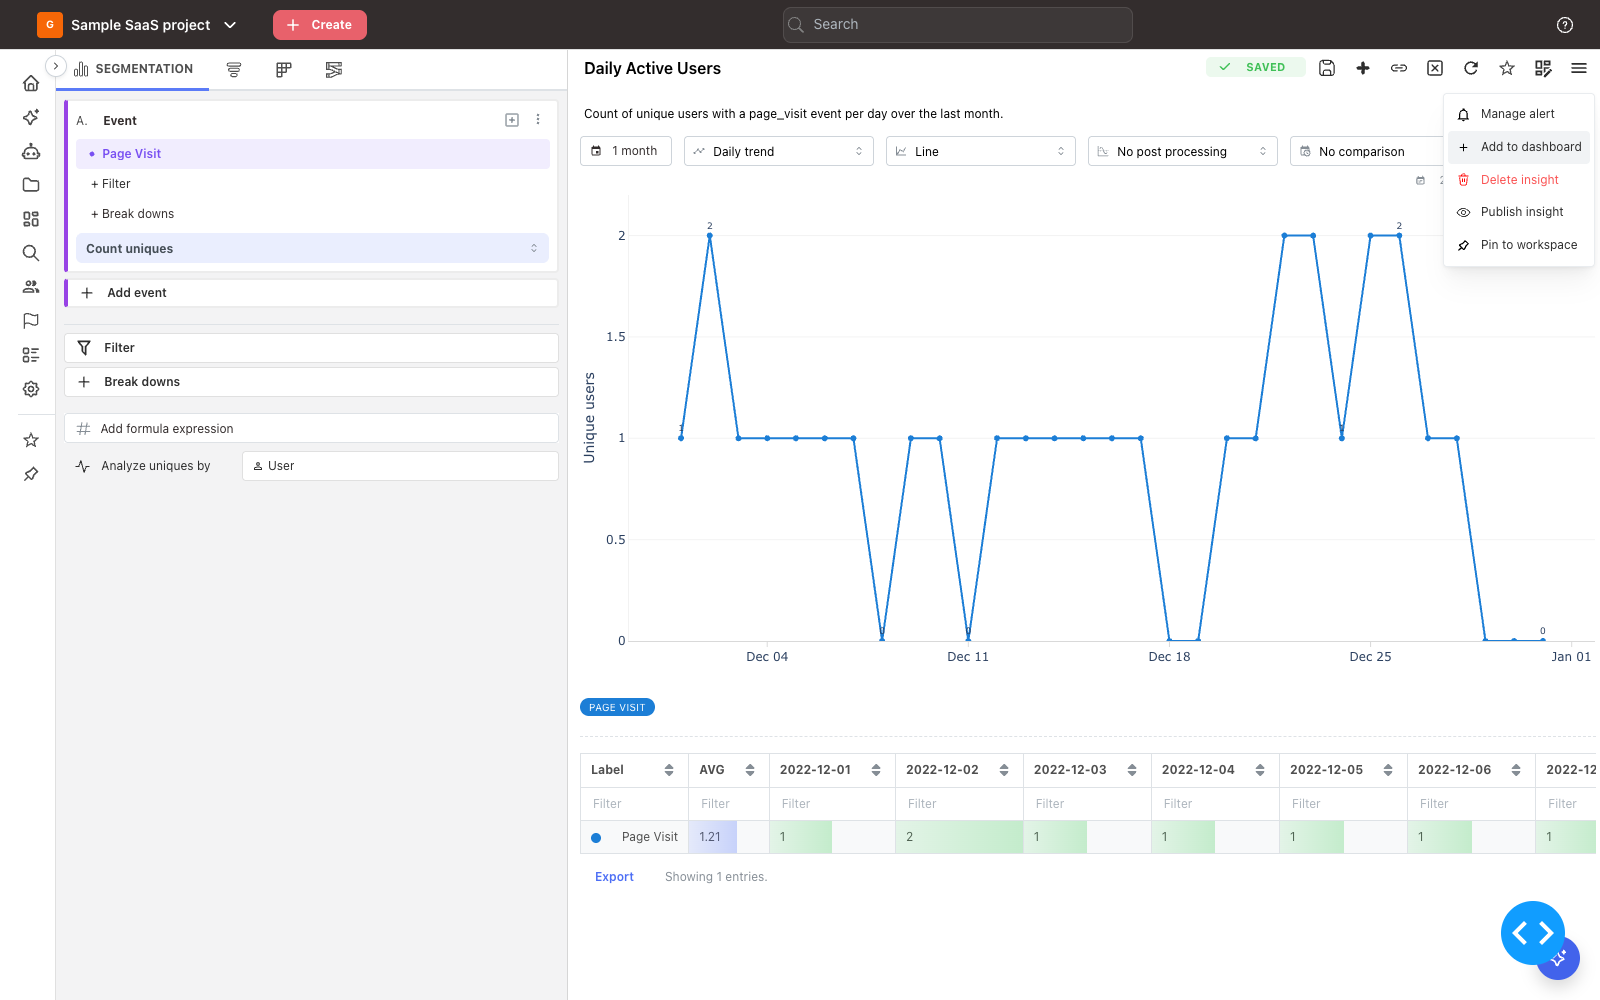
Name the dashboard by typing into the + Add Name field at the top of the page; the + Add Description field below it takes an optional description. Both save automatically.
Adding content
Click the Add content banner at the bottom of the dashboard. While editing, + buttons also appear when you hover over the top of the grid, over the gap between two cards, and below a row — each opens the same menu at that position.
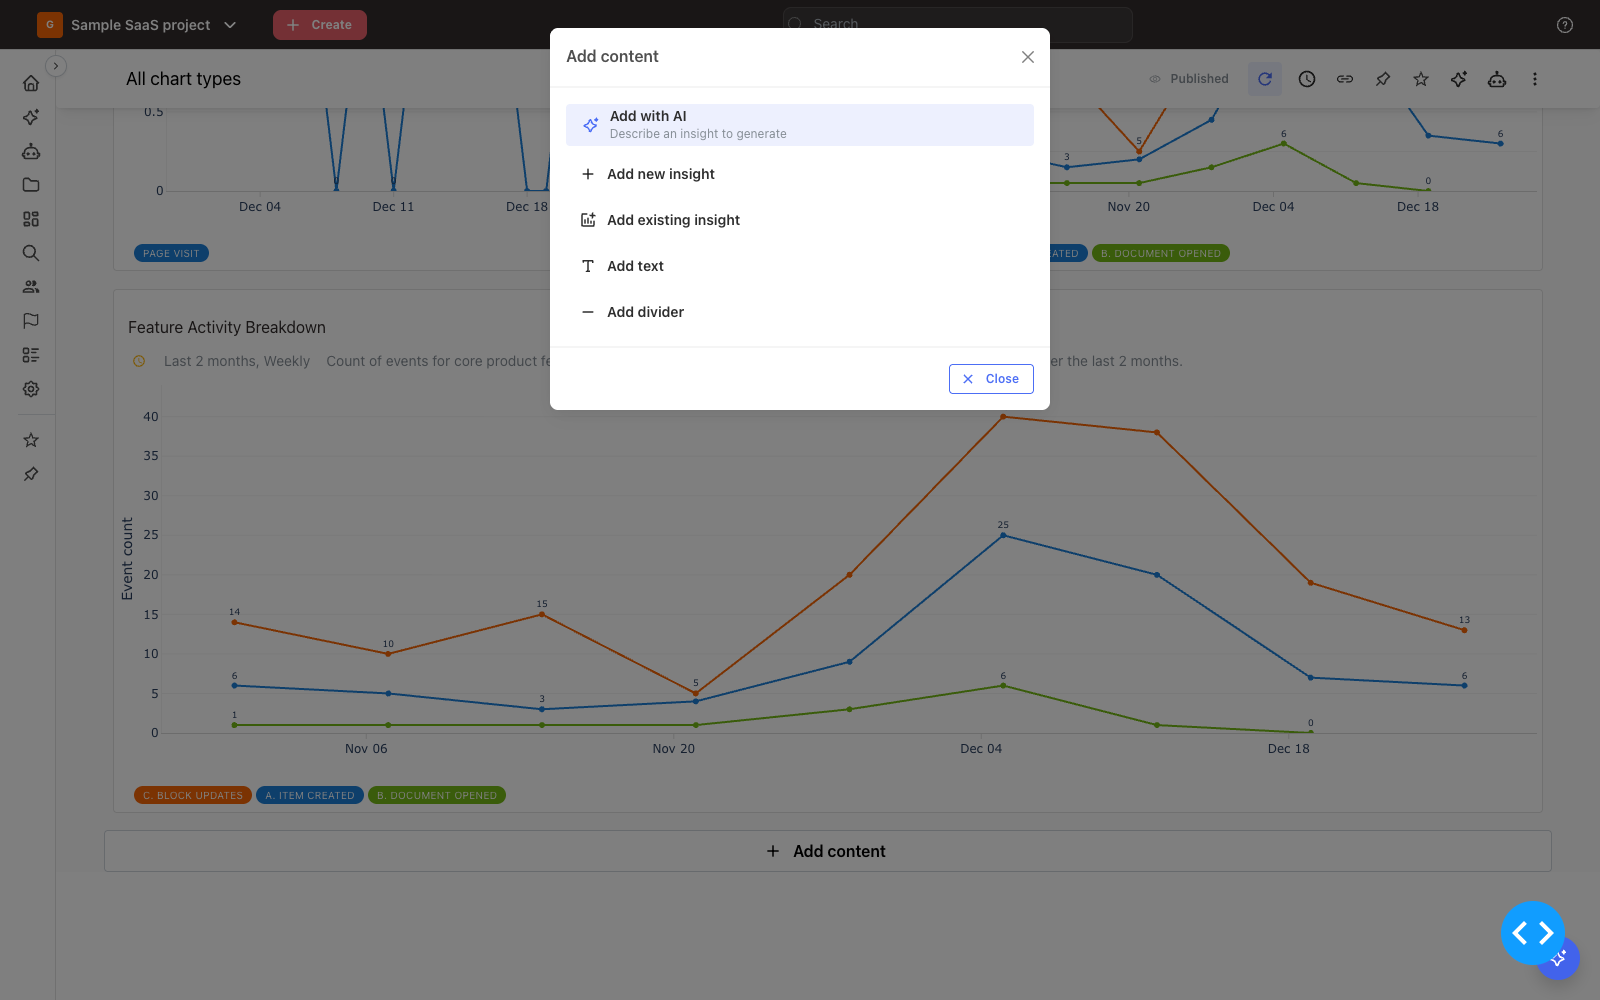
- Add with AI — describe an insight and let the agent generate it. Opens the AI sidebar with the dashboard already in context. Available when the AI agent is enabled for your workspace.
- Add new insight — takes you to the Explore page to build a new insight for this dashboard.
- Add existing insight — pick one of your saved insights from a list.
- Add text — adds a markdown text card.
- Add divider — adds a full-width divider band.
Insight cards
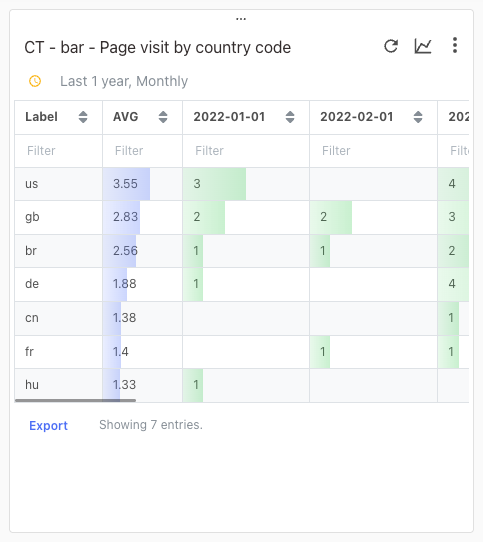
Insight cards show a saved insight as a chart or a table — use the toggle in the card header to switch between the two views. Click the card title to rename it inline. Insights saved with the Pivot table chart type always render as a table.
Text cards
Text cards hold markdown: headings, bold text, and bullet or numbered lists. Click the edit button in the card header to open the editor, then the check button to save. Summaries written by the AI agent land on dashboards as text cards, so you can edit them like any other text.
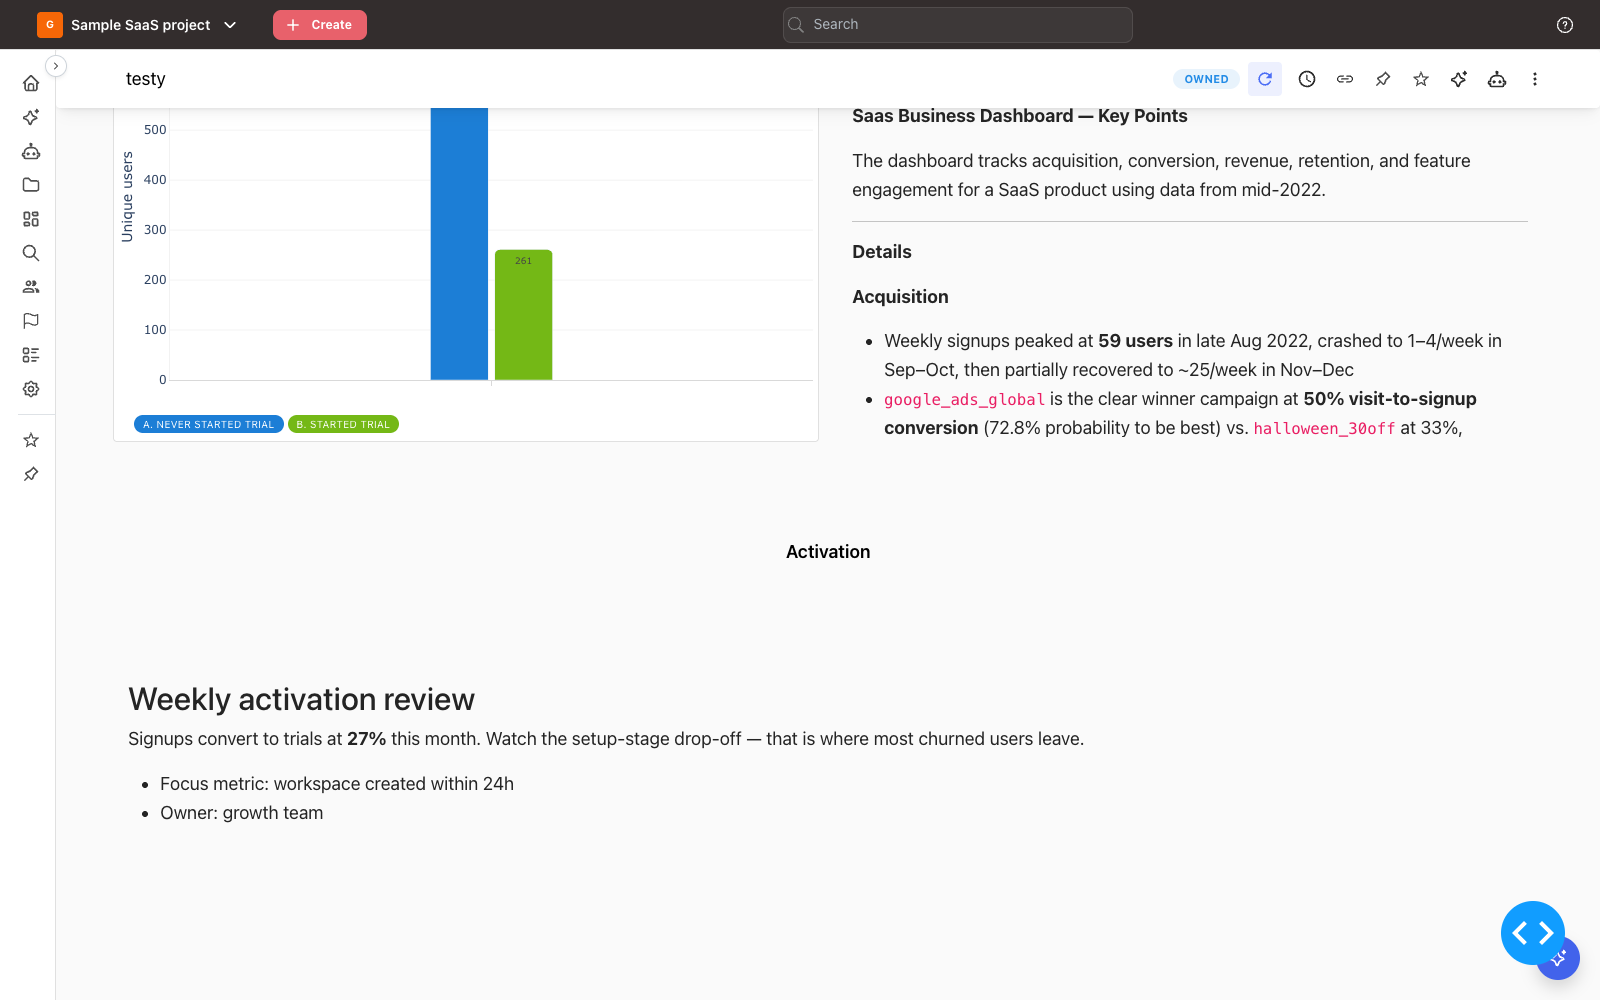
Dividers
Dividers split the dashboard into sections. A divider always occupies a full row on its own, and you can give it a label — for example "Activation" or "Revenue".
Text cards and dividers can also be added and edited by the analytics agent — ask it to add a section header above a chart or to put a note on the dashboard.
Arranging the layout
Cards sit on a grid of rows. A row holds up to four cards; a card can span from a quarter of the row up to its full width, and a card alone in a row always spans the full width. Cards in the same row can have different widths, and rows come in two heights:
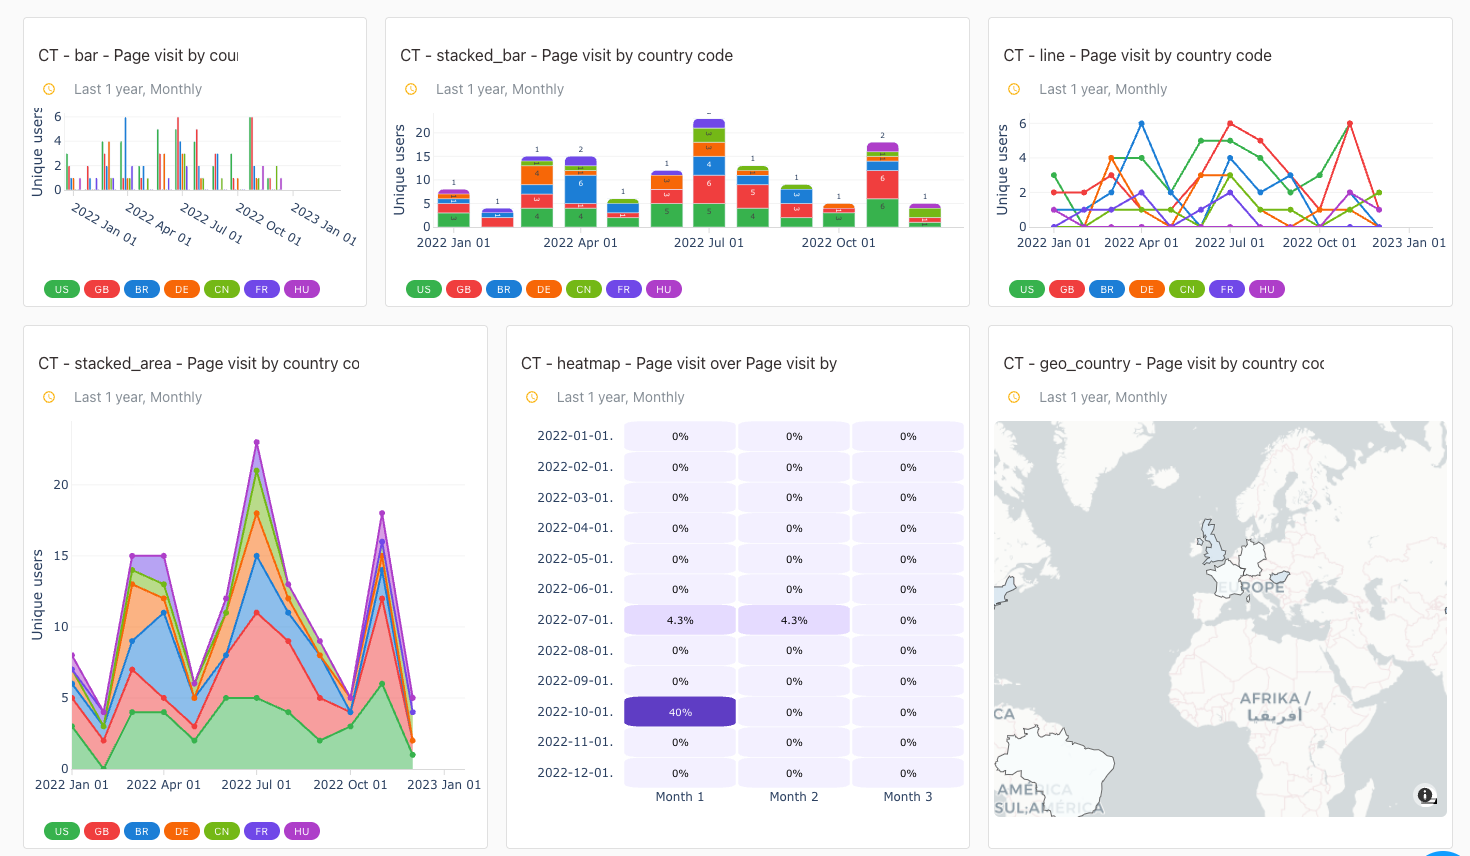
- Move a card: drag it by the handle at the top center of the card. A blue indicator line shows where the card will land — inside an existing row or as a new row above or below. Dragging near the top or bottom edge of the window scrolls the page.
- Resize width: drag the handle in the gap between two cards.
- Resize height: drag the handle below a row. Rows snap between two heights, and all cards in a row share the same height.
- Both resize handles also respond to the arrow keys.
- Dividers are always full-width and have a fixed height.
The card menu's Move to top and Move to bottom options jump a card across a long dashboard without dragging.
Card actions
Hover over a card to reveal its header controls: a refresh button, the chart/table toggle, and the card menu.
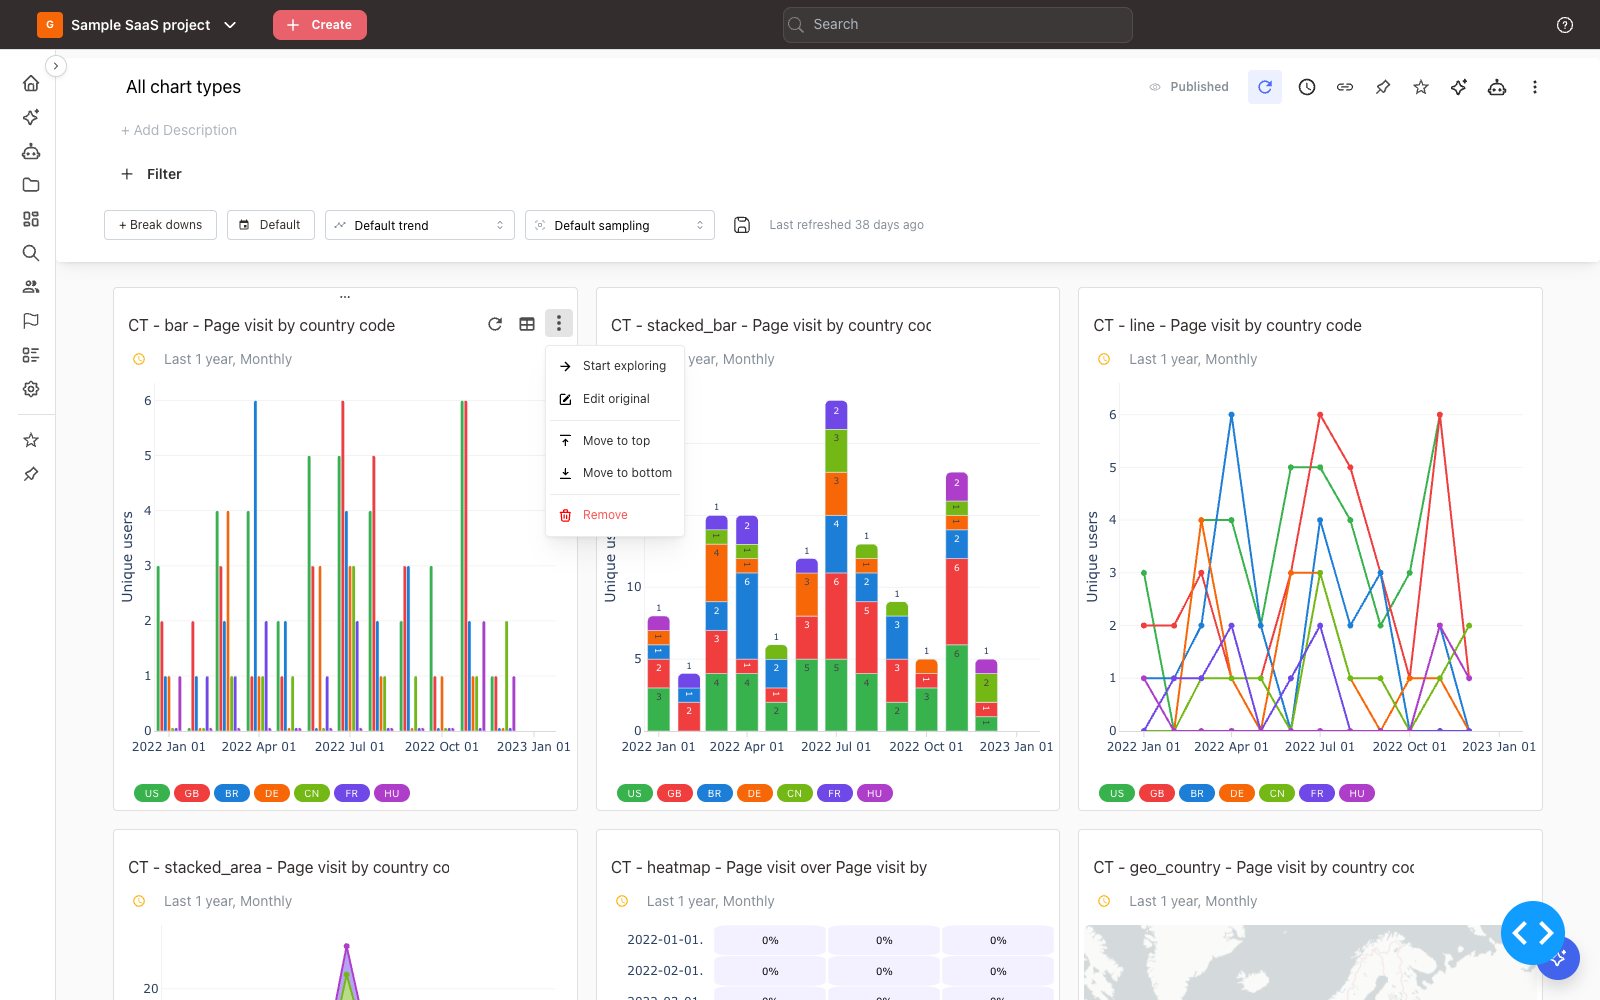
- Start exploring — opens the insight on the Explore page in a new tab as it appears on the dashboard: the dashboard's filters, breakdowns, and overrides are applied to this version.
- Edit original — opens the original saved insight for editing in a new tab, without the dashboard's filters and breakdowns.
- Move to top / Move to bottom — repositions the card.
- Remove — removes the card from the dashboard. Removing an insight card does not delete the saved insight itself.
Filters, breakdowns, and overrides
The bar below the dashboard header configures every insight on the dashboard at once:
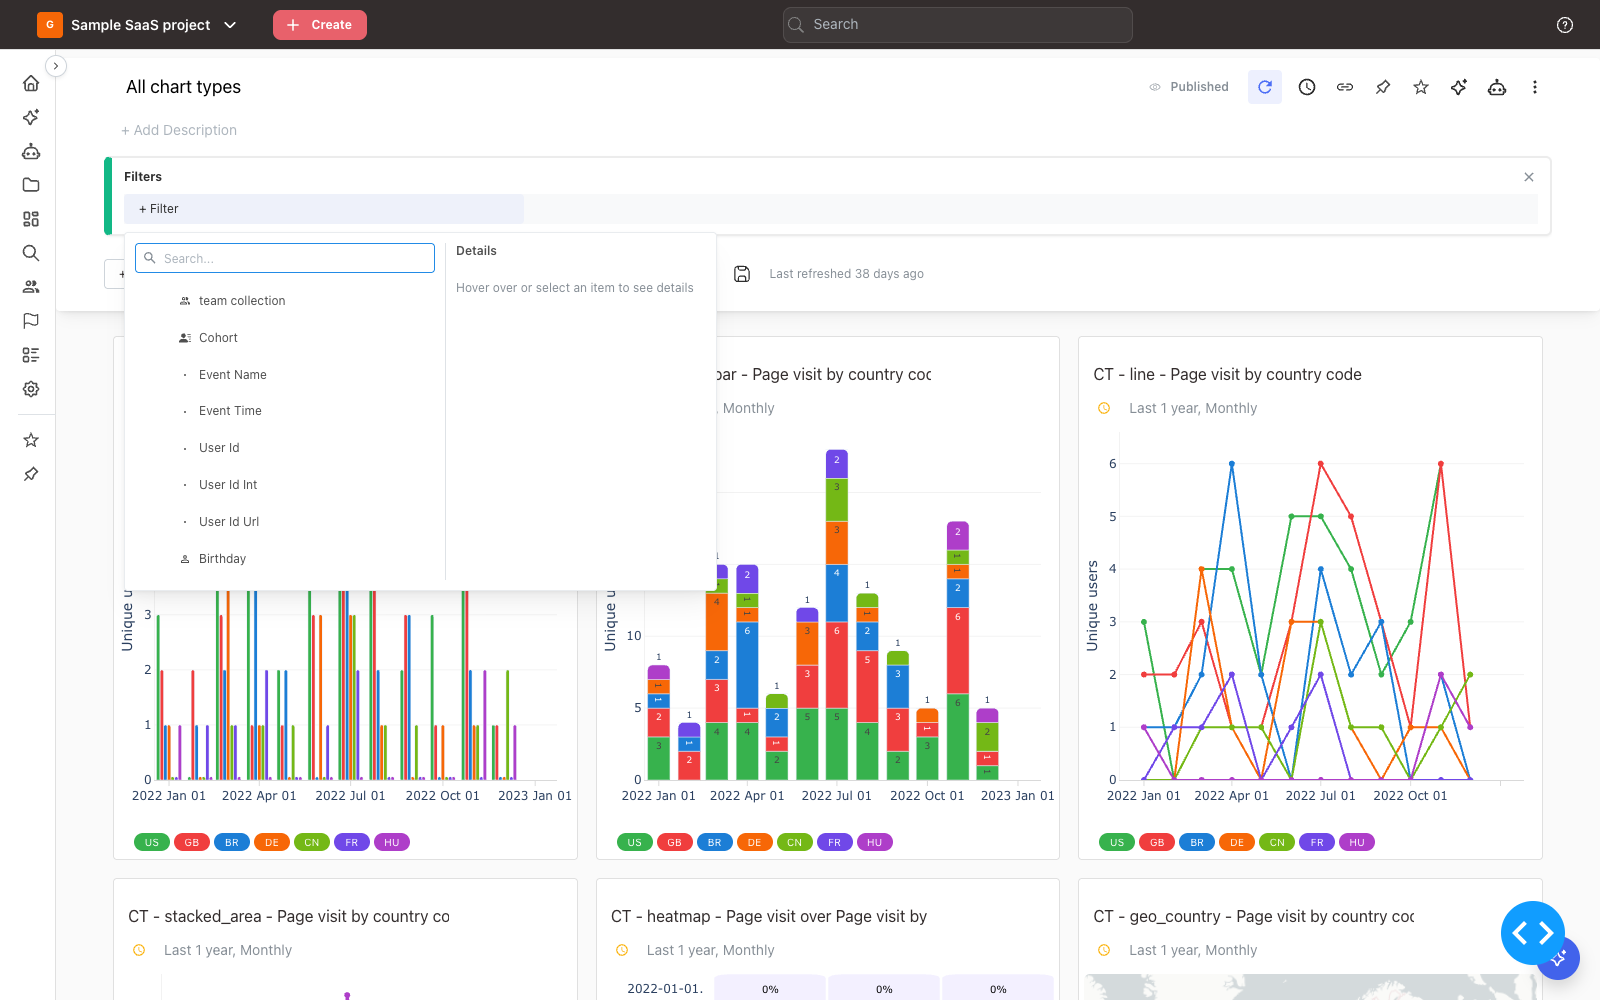
- Filter — apply property or cohort filters to all insights in the dashboard.
- Break downs — break every insight down by an extra property.
- Time window — override the time horizon the insights were saved with.
- Trend type — override the trend granularity (hourly, daily, weekly, monthly).
- Entity sampling — trade accuracy for speed on every insight in the dashboard. See Entity sampling override below.
- The save button stores the current combination as the dashboard's default configuration, so everyone opening the dashboard sees it.
Changed filters and overrides take effect when the insights refresh — click Refresh all, or rely on scheduling (see below). The Last refreshed text shows when the data was last computed.
Filters, breakdowns, and the time window, trend type, and sampling overrides all apply at the dashboard level. The saved insights themselves are not modified — opening one with Edit original shows it exactly as it was saved.
Entity sampling override
The Entity sampling dropdown sets the Uniques sampling rate for every insight card on the dashboard at once, so numbers that should be comparable are all read off the same share of entities. Mitzu scales the counts back up to full-population estimates, exactly as it does on Explore — see Data sampling and resolution.
| Option | Effect on each card |
|---|---|
Default sampling | No override. Every insight runs at whatever Uniques sampling it was saved with. |
No sampling | Forces every insight to read all entities, even ones saved with sampling on. |
50% volume reduction | Every insight reads ~50% of entities. |
75% volume reduction | Every insight reads ~25% of entities. |
90% volume reduction | Every insight reads ~10% of entities. |
Things worth knowing:
- The override applies to every insight card, segmentations included, and replaces each card's own
Uniques samplingrather than combining with it. - It does not touch
Event resolution. An insight saved withOne user event per hourkeeps it whatever you pick here; there is no dashboard-level control for event resolution. Default samplingis not the same asNo sampling.Default samplingsteps out of the way;No samplingactively turns sampling off on cards that had it.- The override lives in the dashboard's filter state, so it travels in the URL when you share the dashboard, and Start exploring on a card opens Explore with the override already applied. Edit original does not.
- The save button in the filter bar stores the current override as the dashboard's default, so everyone opening the dashboard gets it. Only editors see that button.
- Cards refresh with the new rate the next time they run — click Refresh all or wait for the schedule.
Use 50% volume reduction on a heavy dashboard you open every morning, and Default sampling (or No sampling) when you need the exact numbers for a report.
Refreshing
- Per card: click the refresh button in a card's header. While a query runs, the button turns into a cancel button, and the card shows its state — Queued, Running, or Fetching data.
- Whole dashboard: click Refresh all in the header. While a refresh is running the button becomes Cancel all.
- Automatically when outdated: with an auto-refresh window configured, opening the dashboard re-runs any insight whose cached result is older than the window. The header indicator reads "Refreshed when older than …".
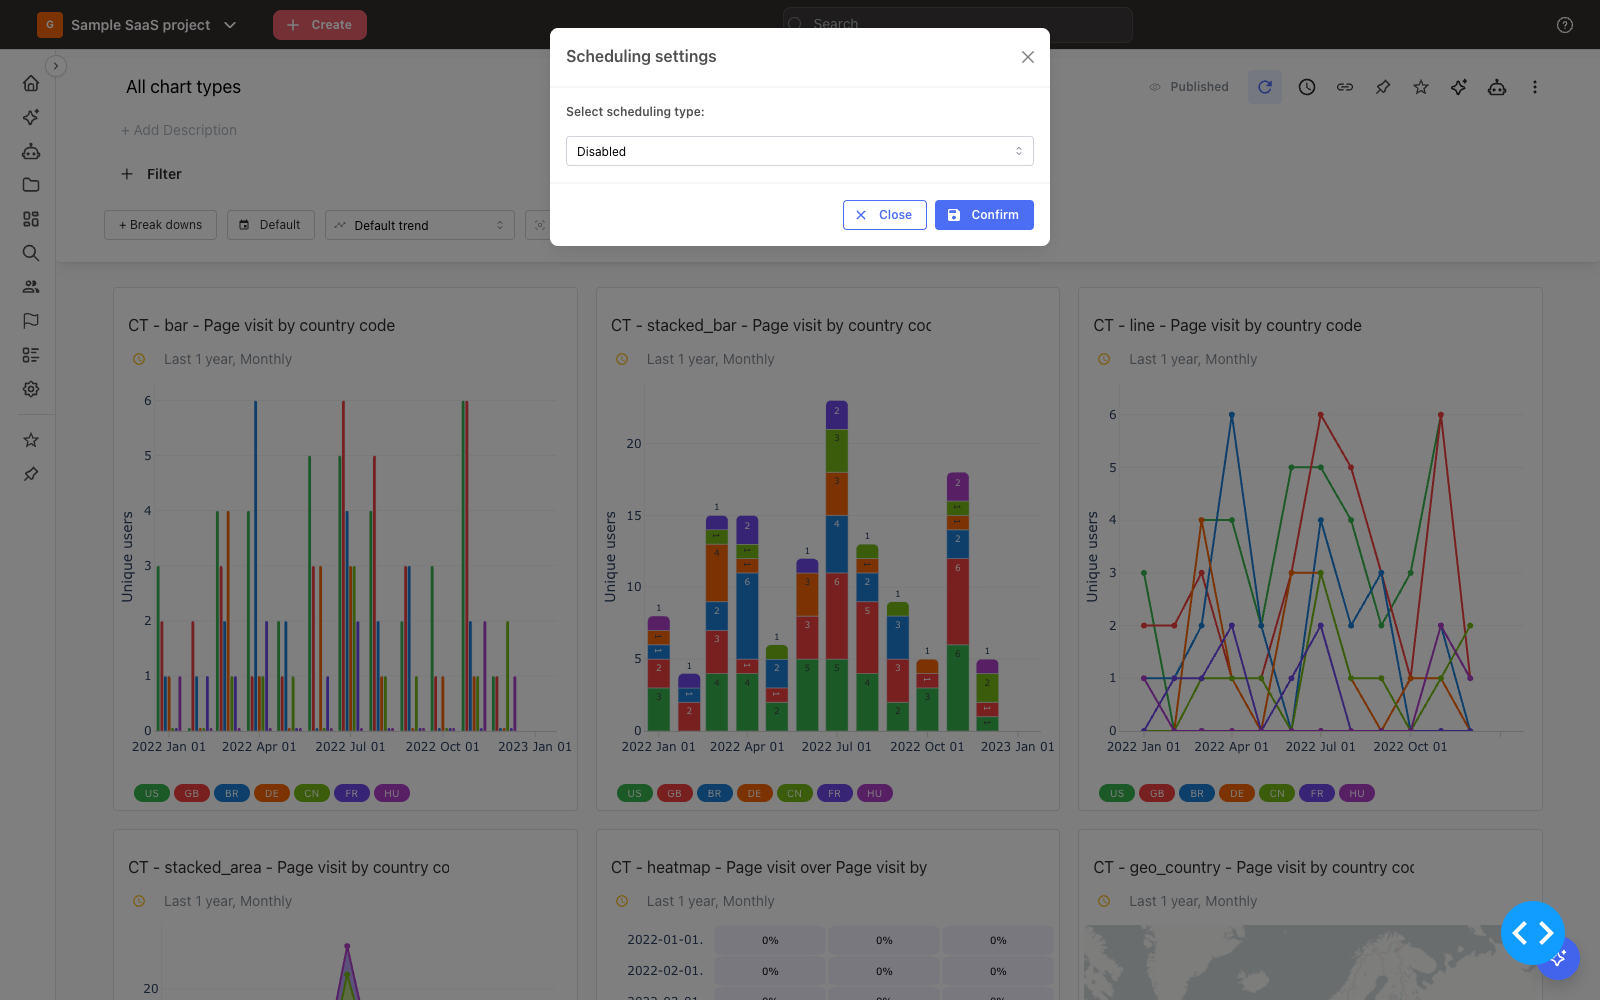
- On a schedule: the Schedule button opens the Scheduling settings modal, where you set a refresh time, weekdays, and timezone. You can also subscribe recipients to an emailed report of the dashboard and send a test report.
AI on dashboards
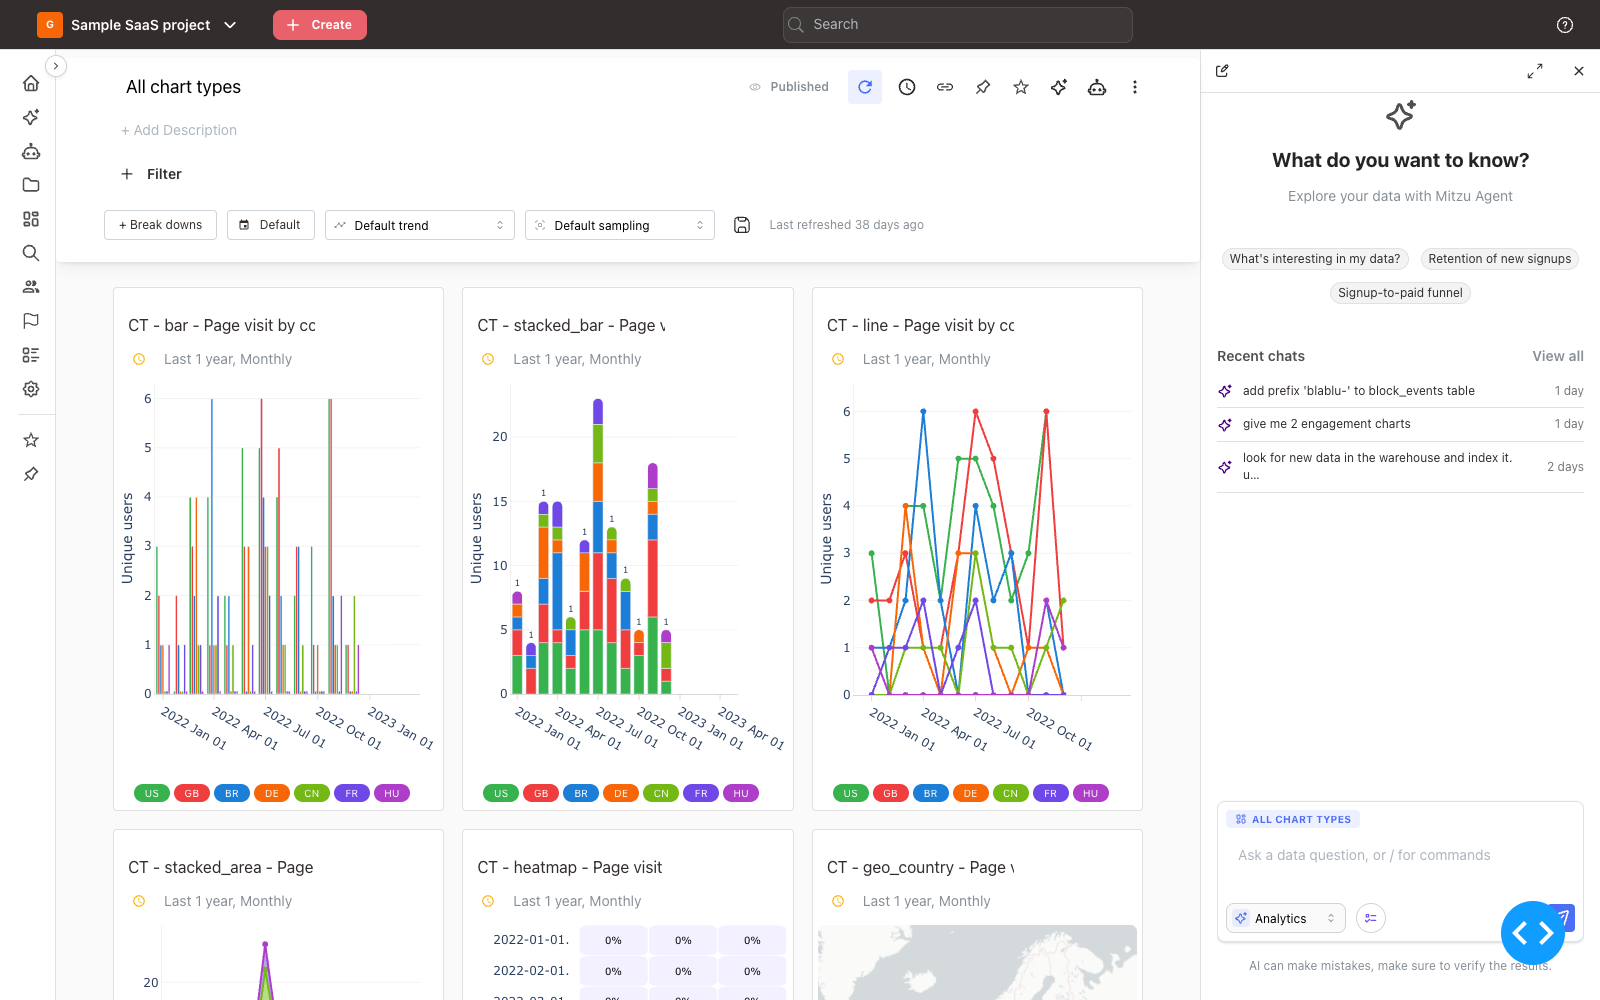
Click the AI button in the dashboard header (Ask / Edit with AI) to open the agent sidebar with the dashboard already in context — ask questions about what you see, or describe a new insight for the agent to build and add to the dashboard.
The reverse direction also works: any chart or summary the agent produces in a chat has an Add to dashboard button in its top corner, which places it on an existing or new dashboard. Charts arrive as insight cards, summaries as editable text cards.
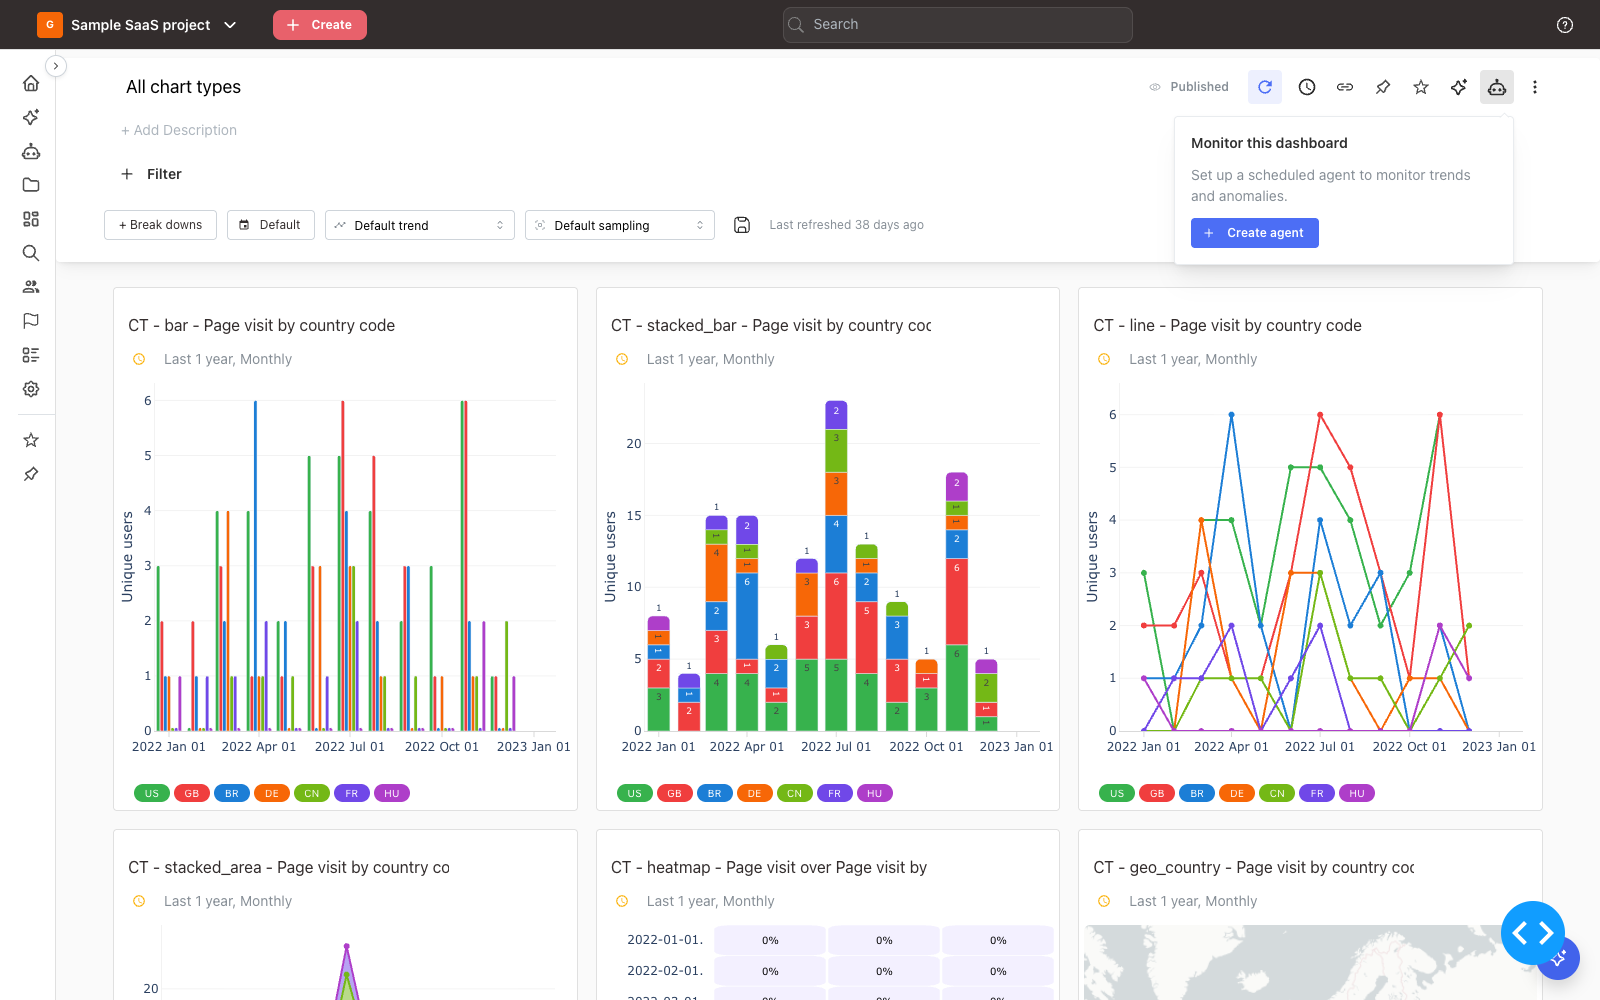
To keep an eye on a dashboard without opening it, click Monitor in the header and create a scheduled agent that watches its trends and anomalies. See Monitoring a dashboard for details.
Header actions
Next to Refresh all, the header holds:
- Schedule — opens the Scheduling settings modal.
- Copy link — copies the dashboard URL.
- Pin — pins the dashboard to the workspace home page (admins only).
- Favorite — adds the dashboard to your favorites.
- A Published indicator appears when the dashboard is publicly shared, and an Owned badge when you own it.
The More (⋮) menu contains the rest:
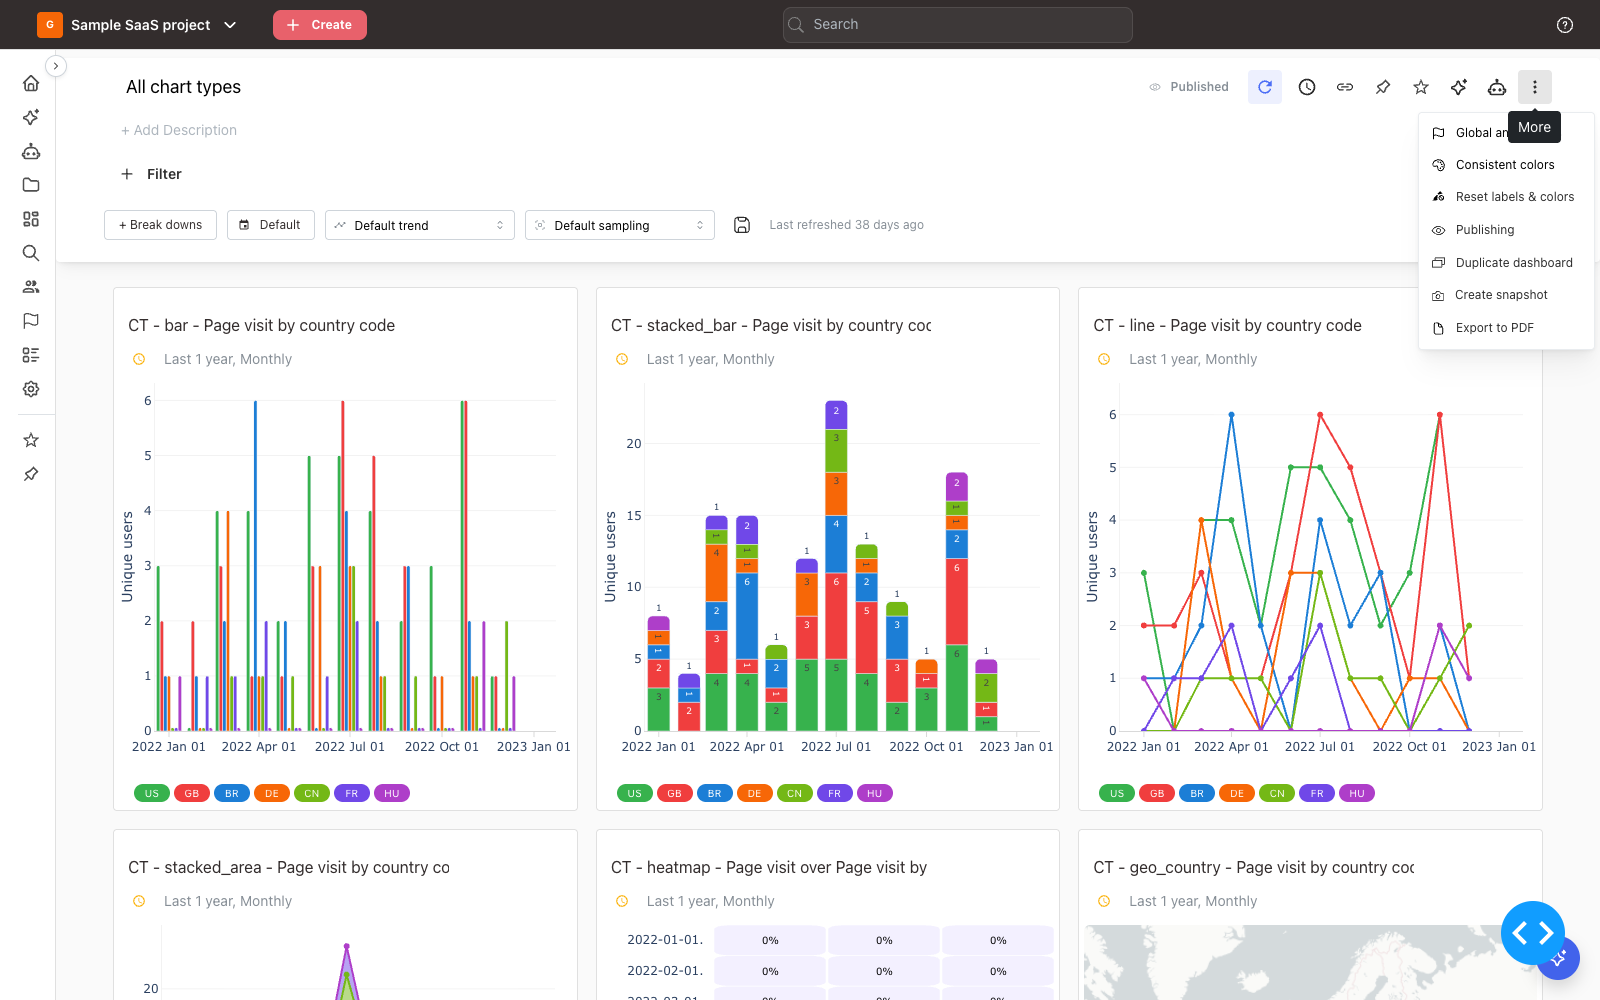
- Global annotations — toggle global annotations on all charts.
- Consistent colors — keep the same group in the same color across every insight on the dashboard.
- Reset labels & colors — clear all series renames and color overrides.
- Publishing — share the dashboard publicly; see Publishing and Sharing Dashboards.
- Duplicate dashboard — see below.
- Create snapshot — see below.
- Export to PDF — download the dashboard as a PDF document.
- Lock dashboard — owners can lock a dashboard so only they can edit it.
- Delete dashboard — owners can delete the dashboard.
The header collapses automatically as you scroll down to leave more room for the cards, and expands again when you move the mouse over it.
Duplicating the Dashboard
Duplicate dashboard opens a dialog where you name the copy. The Also duplicate insights checkbox decides how deep the copy goes:
- Left unchecked, the new dashboard contains the same insights as the original. Editing an insight in one dashboard also changes it in the other, since they share the saved insights.
- Checked, copies of the insights are created for the new dashboard, so changes stay independent of the original.
Creating a Snapshot
Create snapshot copies the dashboard with the current time range locked in place. When you return to the snapshot, you see the exact same data. Snapshots are useful for static reports, such as those linked from Notion.
Renaming, recoloring and hiding chart series
If you can edit the dashboard, every chart legend is interactive — exactly like it is on the Explore page. Click any legend chip to open its editor, then rename the series, recolor it, or toggle Show on chart off to take it off the card, and click Apply.

These edits are saved on the underlying saved insight, so they persist across refreshes and follow that insight everywhere it is used — including for anyone opening a shared link. Viewers who cannot edit the dashboard see the legend as read-only, with hidden series shown as dimmed chips. Hiding a series redraws the card from its cached result without re-querying your warehouse.
On a dashboard you reset series one at a time: open a chip, click Reset to return its label, color and visibility to their defaults, then click Apply. To clear all renames and colors for an insight in one step, open it on the Explore page and use Reset labels & colors there — or use Reset labels & colors in the dashboard's More menu to clear every insight at once.